
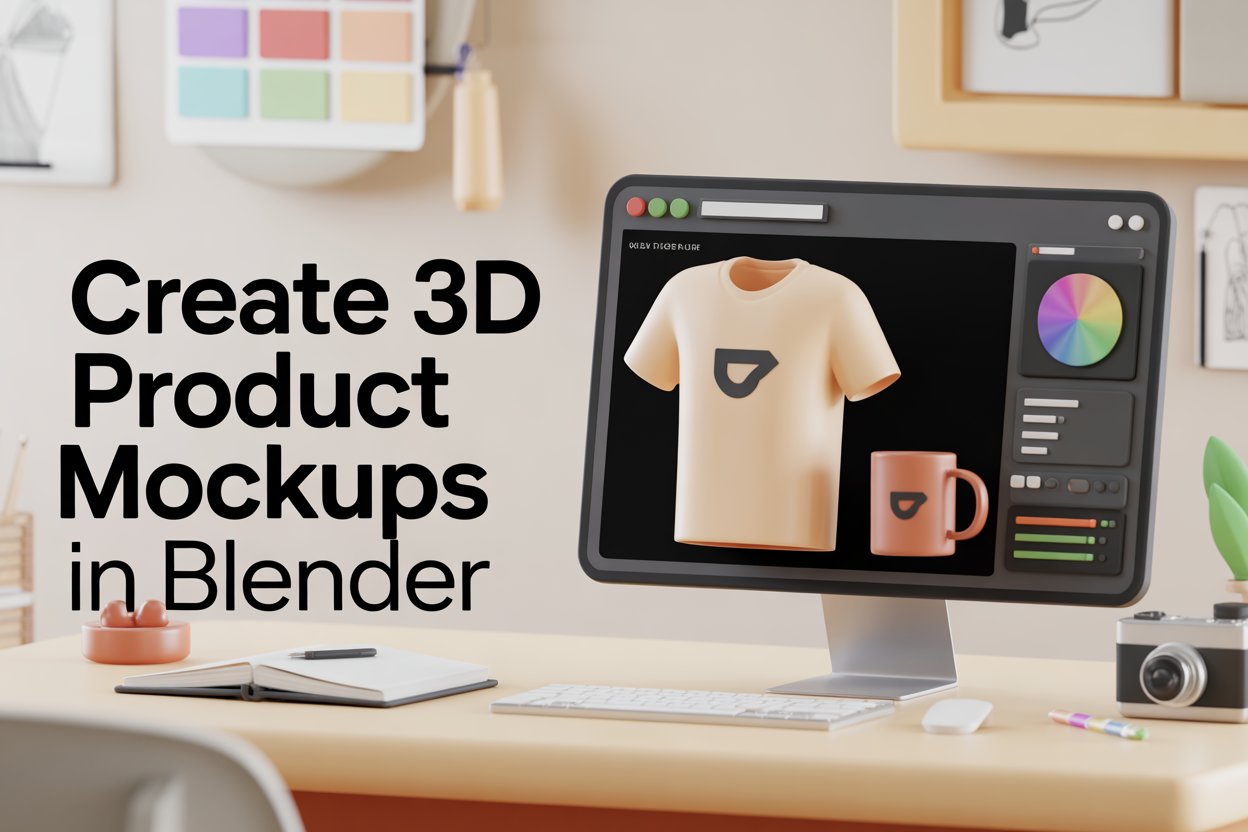
How to Create a 3D Product Mockup in Blender (T-Shirt & Mug Tutorial)
Tutorial: Create a Simple 3D Product Mockup in Blender (T-shirt or Mug)
Objective:
To create a clean, realistic 3D product render of a T-shirt or mug. This render is useful for promotional graphics, online shops, or client presentations.
Step 1:
Install Blender
Go to https://www.blender.org/download/Download and install the latest version.
Open Blender and select “General” for a new project.
Step 2:
Set Up Your Scene
Delete the default cube by selecting it and pressing X, then Enter.Press Shift + A, then Mesh, and choose:
– UV Sphere for a mug base
– Plane for starting a T-shirt mockupPress 1 for front view, then 5 to switch to orthographic view.
Step 3:
Import or Create the Product Model
You have two options:A. Use Pre-Made Models
Go to https://sketchfab.com or https://polyhaven.comDownload a free .glb, .obj, or .fbx model of a mug or T-shirt.
In Blender, go to File, then Import, and select your format.
B. Model a Simple Mug (Optional)
Press Shift + A, then Mesh, then Cylinder.Scale it on the Z-axis by pressing S, then Z to make it tall.
Add a torus by pressing Shift + A, then Mesh, then Torus for the handle.
Rotate and position it as the mug handle by pressing R, then Y, and then move it.
Step 4:
Apply Materials & Logo
Go to the Shading tab.Select your object, then click New to create a material.
Use Base Color to choose a product color.
To apply a logo:
Add an Image Texture node.
Load your logo.
Add a UV Map modifier and adjust it in the UV Editing tab.
Step 5:
Add Lighting
Delete the default light.Add area lights by pressing Shift + A, then Light, then Area.
Position three lights: key, fill, and back for a studio look.
Turn on the Cycles Renderer for realism by going to the top-right corner, then Render, and select Cycles.
Step 6:
Set Up Camera & Render
Press Shift + A, then Camera.Position it using the N panel, or use the shortcut Ctrl + Alt + 0 to lock the view.
Go to Render Properties:
– Resolution: 1080×1080 or 1920×1080
– Samples: 128 or higherHit F12 to render.
Save the image by going to Image, then Save As.
BONUS: Export for Web or Clients
To export a 3D viewer file:Go to File, then Export, and select glTF 2.0 (.glb).
You can upload this file to your website with a WebGL viewer like model-viewer.
Result:
You now have a professional 3D product mockup ready for social media, websites, or client presentations!
Call us today at (+92-21) 34817357, (+92-21) 34812988,(+92-21) 34825123, (+92-345-3133668)
Email us at info@telipano.com
Visit telipano.com
https://shorturl.fm/YU7uq
https://shorturl.fm/nxqWh
https://shorturl.fm/qeWWj
https://shorturl.fm/WqvaR
https://shorturl.fm/L3QPQ
https://shorturl.fm/hHnt1
https://shorturl.fm/Qqg1Z
https://shorturl.fm/4mi6P
https://shorturl.fm/7GU3m
https://shorturl.fm/WrNYg
https://shorturl.fm/KvGtJ
https://shorturl.fm/v1PDp
https://shorturl.fm/yYtob
https://shorturl.fm/EHpde
https://shorturl.fm/pQHAv
Earn your airdrop on Aster https://is.gd/ZceEI6